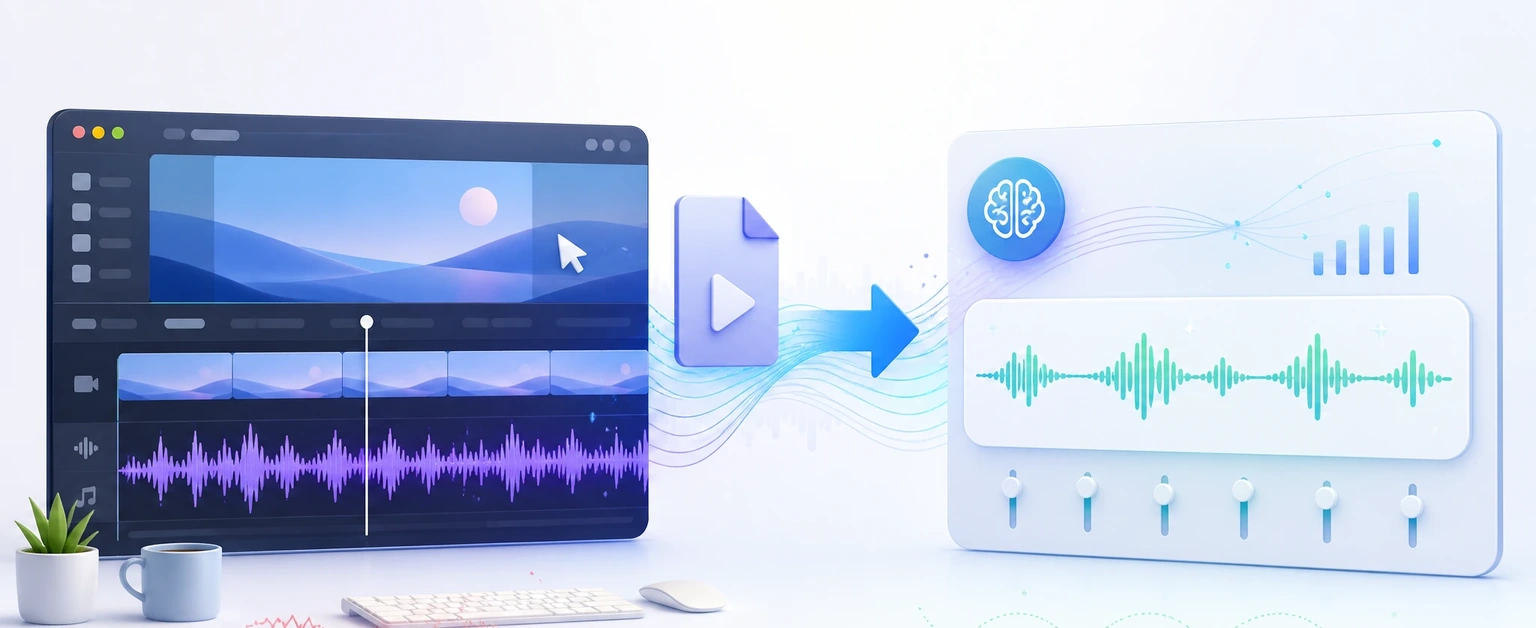
If your Camtasia screen recording has fan hum, keyboard clicks, room echo, buzzing, or uneven voice volume, the fastest fix is usually not to rebuild the whole project. Start with light cleanup inside Camtasia when you still have the editable timeline, then clean the exported file if the final voice is still hard to hear.
Use this workflow for tutorials, product demos, course lessons, webinars, training videos, and support walkthroughs where speech clarity matters before publishing, captioning, or sharing.
After the edit is locked, upload the export to Audio Cleaner for cleanup. Here, AudioCleaner, AudioCleaner AI, Audio Cleaner, and AI Audio Cleaner refer to the same tool in this guide.
Quick Answer
Camtasia is a good first pass for subtle, steady background noise such as fan noise, static, hiss, or computer hum. TechSmith’s own support guidance says noise removal works best on consistent noise and is less suited to sudden or irregular sounds.
Use Camtasia first when the project is still editable. Use Audio Cleaner after export when the file is already finished, the noise is mixed into speech, or the built-in cleanup makes the voice sound thin, metallic, or over-processed.
A practical order is:
- Fix the recording timeline in Camtasia.
- Apply light Noise Removal only where it improves the voice.
- Export a clean master file.
- Run exported-file cleanup if noise, echo, buzzing, or voice clarity problems remain.
- Preview the cleaned speech before publishing or transcribing.
When Camtasia Noise Removal Is Enough
Camtasia is usually enough when the audio problem is simple and consistent.
Good cases include:
- Laptop fan noise under a voiceover.
- Light microphone hiss in a software tutorial.
- Low computer hum during a screen recording.
- Mild background room tone that stays the same from start to finish.
The advantage is control. You can adjust the audio effect while watching the video timeline, compare before and after, and avoid changing parts of the recording that already sound fine.
This is the right path when the voice is already close to publishable and the noise only needs light reduction.
When Exported-File Cleanup Is Better
Exported-file cleanup is better when the problem is not just steady background noise.
Use it when you have:
- A final MP4 from a teammate, contractor, or old project.
- A tutorial with keyboard clicks during shortcuts and typing.
- A webinar or course recording with room echo.
- A product demo where the fan noise changes as the laptop works harder.
- A support video with buzzing, hiss, or microphone handling noise.
- A file where Camtasia cleanup reduced noise but damaged the voice.
At that point, the question is not “What are the best Camtasia settings?” It is “How do I make this finished recording easier to hear?”
That shift matters. A settings-first article can help while editing. A cleanup-first workflow helps when the video already exists and the next step is publishing, uploading, captioning, or sending it to a client.
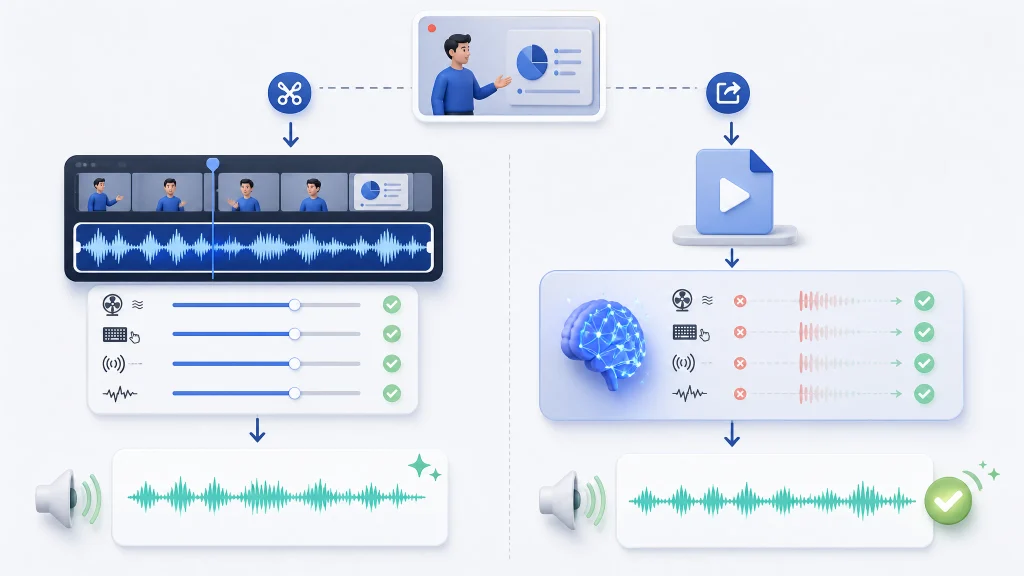
Camtasia vs Audio Cleaner: Which Should You Use?
| Situation | Start With | Why |
|---|---|---|
| Light fan noise across the whole recording | Camtasia Noise Removal | Consistent background noise is the easiest case for timeline cleanup. |
| Keyboard clicks during a live demo | Audio Cleaner after export | Clicks are short and irregular, so a second cleanup pass may work better than one broad timeline effect. |
| Buzzing or electrical hum | Camtasia, then Audio Cleaner if needed | Built-in cleanup may reduce it; a focused remove buzzing from audio workflow helps when it remains. |
| Room echo in a course video | Audio Cleaner after export | Echo affects speech clarity and often needs voice-focused enhancement, not only noise suppression. |
| Final MP4 with no Camtasia project | Audio Cleaner | You need a file-based workflow instead of timeline effects. |
| Voice sounds robotic after cleanup | Reduce processing and compare versions | Over-cleaning can damage tone; the best version is the one people can understand comfortably. |
Step-by-Step Workflow
1. Save a short noisy test section
Do not process a 40-minute tutorial first.
Pick a 30-60 second section that includes normal speech, silence, and the worst noise. This gives you a reliable sample for testing Camtasia cleanup and exported-file cleanup without wasting time.
2. Use Camtasia cleanup lightly
Inside Camtasia, select the noisy clip and apply Noise Removal or the relevant audio cleanup effect available in your version.
Listen for three things:
- Did the fan, hum, hiss, or static get quieter?
- Does the voice still sound natural?
- Are consonants like “s”, “t”, and “k” still clear?
If the voice starts to sound hollow, underwater, or metallic, reduce the effect. A slightly noisy natural voice is usually better than a heavily processed voice that is difficult to understand.
3. Export the screen recording once
When the edit is ready, export the file in the format your publishing workflow needs. MP4 is usually practical for screen recordings because it keeps the video and audio together. If your workflow supports a separate high-quality audio export, save that too.
Avoid repeated export-import cycles. Each extra compression pass can make speech artifacts harder to clean later.
4. Clean the exported file
Open the AI audio enhancer, upload the exported audio or video file, and process the recording.
Use this step for problems that are awkward to solve with one editor setting:
- Background noise mixed with speech.
- Hiss or static left after editing.
- Buzzing from a cable, microphone, or power issue.
- Room noise in a home-office tutorial.
- Voice clarity problems before subtitles or transcription.
For a broader workflow, use the guide on how to remove background noise from audio and video.
5. Preview speech before replacing the audio
Do not judge cleanup only by silent gaps. The real test is spoken audio.
Listen to:
- The loudest sentence.
- The quietest sentence.
- A section with keyboard or mouse sounds.
- A section with system audio or screen movement.
- A section that will be captioned or transcribed.
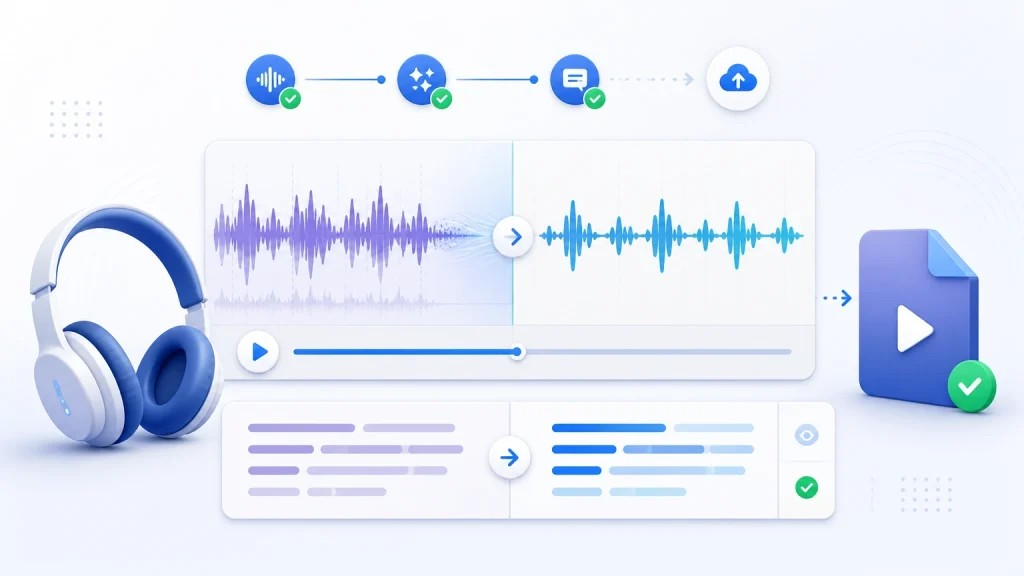
If the cleaned version makes the voice easier to understand without flattening it, use it. If it sounds over-processed, go back to a lighter Camtasia export and clean that version instead.
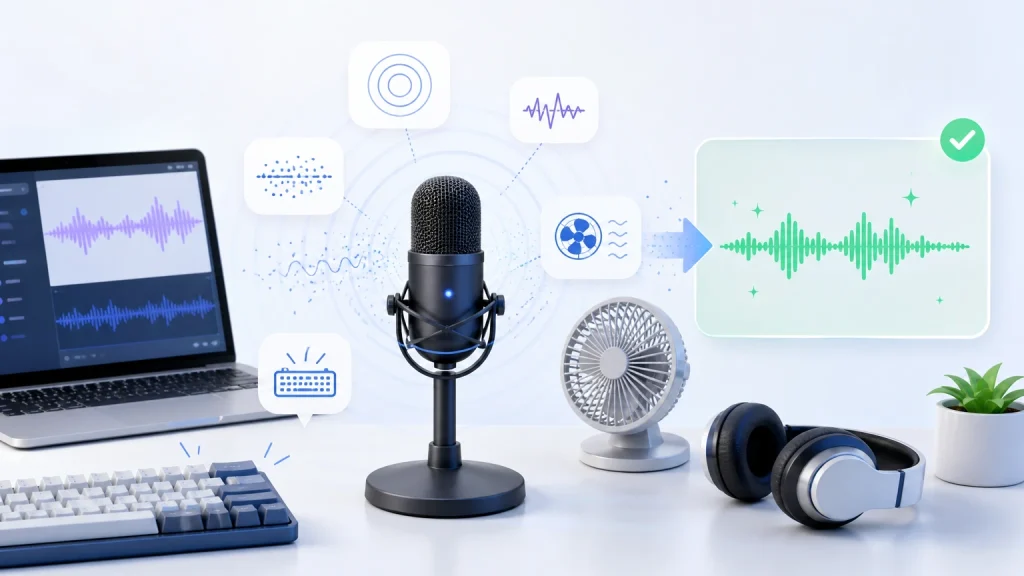
Common Problems and Best Fixes
| Problem | Likely Cause | Best Fix |
|---|---|---|
| Fan noise throughout the tutorial | Laptop fan or ventilation | Try Camtasia first, then clean the export if the fan is still audible. |
| Keyboard noise under narration | Typing during the demo | Cut or lower obvious clicks where possible, then clean the exported file. |
| Buzzing or hum | Cable, USB interface, power, or gain issue | Clean the file, then fix the recording setup before the next session. |
| Echo or boxy voice | Hard room surfaces or distant microphone | Use voice-focused cleanup after export and record closer to the mic next time. |
| Robotic voice | Too much noise reduction | Reduce the effect and compare a less processed export. |
| Uneven speech volume | Moving away from the mic or mixed clips | Normalize or enhance the final voice after editing. |
What Not to Do
Do not stack every audio effect because the file sounds bad. Noise removal, compression, EQ, voice enhancement, and volume normalization can work together, but too much processing can make speech tiring to hear.
Do not chase one universal Camtasia setting. A quiet narrated tutorial, a live coding demo, a webinar, and a product walkthrough can all need different cleanup choices.
Do not publish without checking captions or transcripts if the recording depends on them. Muddy speech often creates caption errors, so clean the voice before the file becomes a learning asset, customer support asset, or searchable video.
Best Workflow by Recording Type
| Recording Type | Best First Move | Best Final Move |
|---|---|---|
| Software tutorial | Light Camtasia cleanup | Export and remove keyboard or fan noise if needed. |
| Online course lesson | Check voice consistency | Clean echo, hiss, or room noise before uploading. |
| Webinar replay | Trim and level sections | Enhance the final file for clearer listening. |
| Product demo | Keep system audio balanced | Clean narration without overpowering demo audio. |
| Client walkthrough | Fix obvious timeline issues | Clean the export before sending or archiving. |
Final Takeaway
Use Camtasia for light timeline cleanup when you still control the project. Use Audio Cleaner after export when the problem is mixed into the final recording, when you only have the finished MP4, or when the voice needs to be clearer before publishing, captioning, or sharing.
The best workflow is not choosing one tool for every problem. It is using Camtasia to edit the video and Audio Cleaner to polish the final audio when the recording still needs help.
FAQ
Can Camtasia remove background noise from screen recordings?
Yes. Camtasia includes audio cleanup features that can reduce background noise in recordings. It is most useful for subtle, steady sounds such as fan noise, static, hiss, or computer hum.
Why does my voice sound robotic after Camtasia noise removal?
The cleanup may be too aggressive, or the original noise may be tightly mixed with the voice. Reduce the effect, export a less processed version, and compare it with an exported-file cleanup pass.
Can I clean a Camtasia MP4 after export?
Yes. If you have the exported MP4, you can clean the audio from the finished video file without rebuilding the Camtasia project.
Should I clean audio before or after editing in Camtasia?
Do basic cleanup before export if you still have the project. After the edit is locked, clean the exported file if noise, echo, buzzing, or voice clarity problems remain.
Is AudioCleaner AI better than Camtasia Noise Removal?
They solve different parts of the workflow. Camtasia is convenient while editing the timeline. Audio Cleaner is useful after export, especially when you need file-based cleanup for a finished recording.
Sources and Further Reading
- TechSmith Support: Noise Removal Best Practices – Used for Camtasia noise removal scope and limitations.
- TechSmith Blog: How to Remove Background Noise From Video – Used for Camtasia Remove Noise workflow context.
- TechSmith Camtasia: What’s New in Camtasia – Used for AI background noise removal and adjustable effect context.
- AudioCleaner AI: Audio Cleaner homepage – Used for AudioCleaner positioning and online audio/video cleanup workflow.
- AudioCleaner AI: AI Audio Enhancer – Used for voice enhancement workflow context.
- AudioCleaner AI: Remove Buzzing from Audio – Used for buzzing and hum cleanup use case.